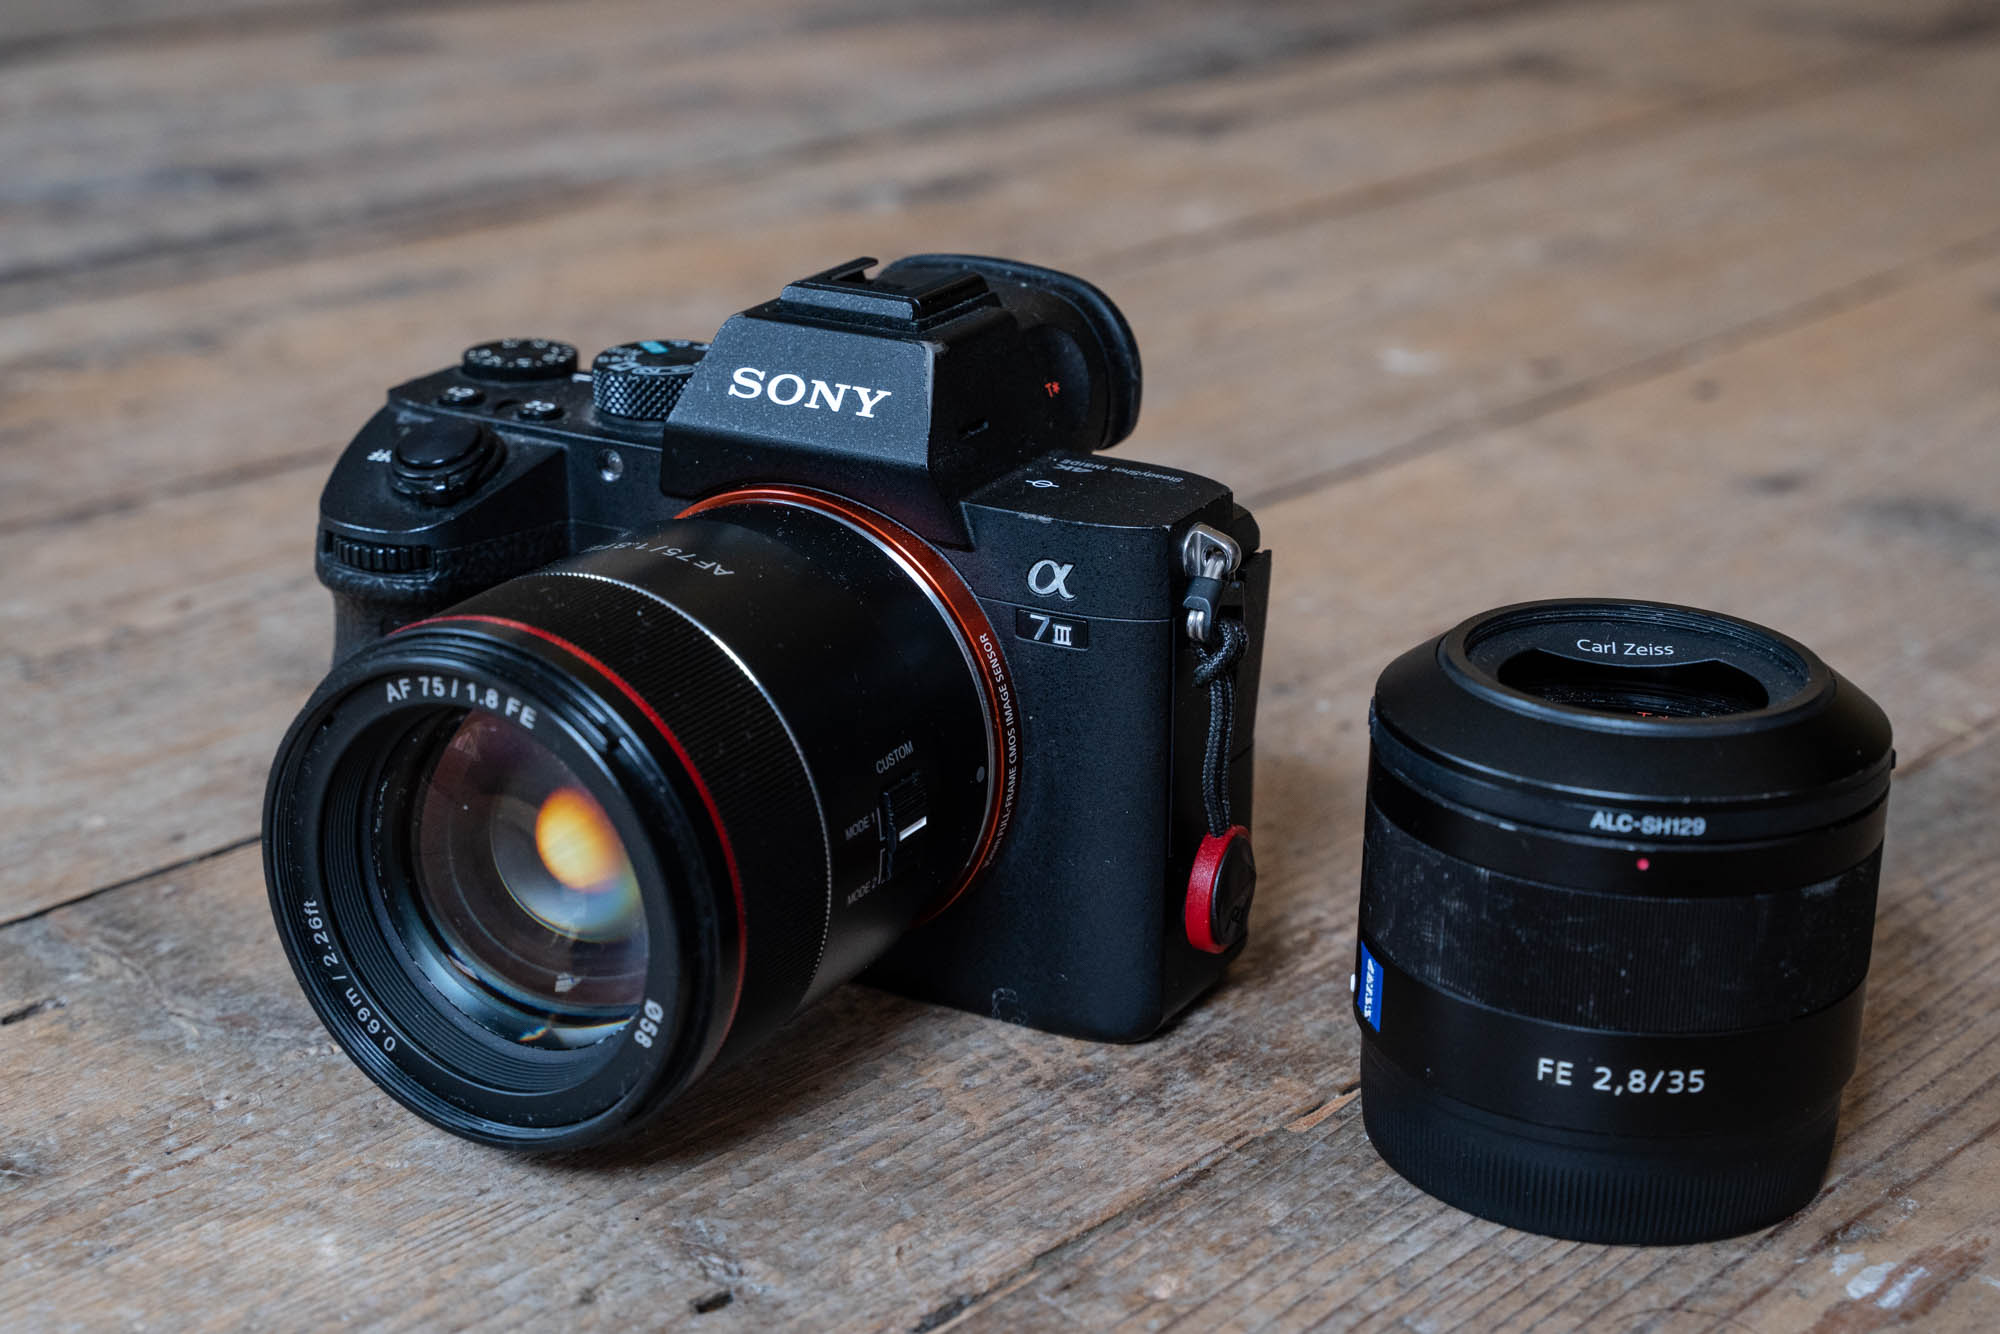
what’s up guys to key here and welcome to another tech gear talk today I’m gonna walk you through how I set up my a 7-3 for video a lot of people buy a nice camera and then they use it with the default functions and settings and I think that they aren’t getting the most or maybe the best user experience that they can out of their gear I think that one of the best things you get when you buy a higher-end camera is the ability to customize it for exactly how you shoot so I’ve been experimenting with different ways to customize my a 7-3 and I now have all the buttons and settings just in an awesome way and it makes it so that I only have to access the menu for two functions I’m not sure why I can’t assign those functions to a button or a menu but we’ll talk about that later on alright so let’s get started I’m gonna go page by page through the menu settings then we’ll do the buttons on the camera and then finally will customize the function menu to start off go ahead and put the a 7-3 in movie mode on the top dial now obviously we’re shooting videos so if
you don’t do this first some of the features that I show you in the next section will be grayed out next we want to go to the second camera settings page one and set it to manual exposure this means that we’re gonna manually control aperture shutter speed and ISO so that we have full creative control over our exposure if you don’t do this and you leave things on program auto aperture priority or shutter speed priority you’re gonna start noticing that the a 7-3 will start altering your exposure as lighting conditions change and that’s gonna ruin your video next we’re gonna set resolution and frame rates it’s on the same page as the exposure mode you’re gonna go to file format and choose between 4k and HD one of the reasons I got this camera is because of the incredible 4k quality so I shoot in 4k even if I plan on down scaling it back to 1080p in post and I have a video that talks about 4k and why you may or may not want to use it so I’ll link to that up in the corner and in the description next we’ll go to the next item down which is record settings and we’re going to select between 24 and 30 frames-per-second if you want the most cinematic look go ahead and choose 24p a hundred
megabits per second which will give you the best 4k footage that the a 7-3 can produce and when I shoot for clients I mostly use this setting and I shoot all of my channel videos at 30 P 100 megabits per second because I happen to like that look right now there is a 1.2 crop when using 30 P instead of 24 P but it’s not something that bothers me also make sure that you have a fast SD card that can handle these higher bit rates we also have the option to shoot at 1080p which I use when I want to shoot the best slow-motion this camera can do to do this selects xav CS HD and then 120 P 100 megabits per second I’m going to talk about this more in the next section so next I want to stay on the same page and go down to s and Q settings which is a feature that I use to quickly get slow motion or quickly start a time-lapse so essentially s and Q lets you pick a frame rate between 1 and 120 frames per second and then a playback speed of 24 or 30 frames per second if you choose 120 frames per second and a playback speed of 30 frames per second you’ll get slow-motion by a factor of 4 if you select 24 frames per second you’ll get slow-motion by a factor of 5 on the other hand if you picked one frame
per second and a playback of 30 frames per second you’re speeding things up by a factor of 30 which sort of creates a time-lapse now I don’t use these features very often and here is why for slow-motion it uses a lower bitrate than 1080p at 120 frames per second the s and Q uses what ends up being 60 megabits per second and in 1080p I can shoot at a hundred megabits per second as far as time-lapse now that Sony released interval shooting I’d rather do an actual time-lapse at a much higher resolution and with full control the ability to drag my shutter speed and all those things instead of letting the camera do it if you want me to do a tutorial on that just let me know in the comment section and I’ll put one together ok so why am i telling you to set this up if I don’t use it a lot because there might be a situation where I’m shooting a 4k and then I need to vary quickly switch to slow motion or I’ll miss the action and that’s where I can just toggle this to snq and start shooting I might not get the best slow motion I can get but I’m not gonna miss the shot okay next we’re gonna set up the autofocus drive speed and tracking
sensitivity we’re going to camera settings to page two and we’re going to set the drive speed to fast this dictates how fast the a 7-3 is going to rack focus once it decides that the footage is out of focus so basically this controls how fast that transition happens and I like it set to fast with the a7 three which is not always true for every Sony camera on some models I don’t like the fast because it’s too abrupt but with the a7 three I like it set too fast next we’re gonna set the autofocus tracking sensitivity to responsive and this controls how much of a change the AF system needs to detect before it initiates pulling focus again for me and how I shoot I like to have this set to responsive rather than standard next we’re gonna set the audio options and we’re still on camera settings to page to audio recording of course you’ll have to set this to on now audio recording levels are going to depend on the microphone that you’re using and how far away your subject is from the microphone if you’re using a non powered microphone like the rode videomicro then you’re gonna need to turn this up to a higher setting something between 25 or 30 or even more depending on how far away that person is from the microphone if you’re using a powered microphone like the deity d3 pro
or the rode videomic pro plus you’re gonna want to use the microphone to amplify the sound instead of the a seven threes not-so-great preamps these powered microphones have different plus DB settings which allow you to have the microphones high-end audio components do the work and you’ll get much better cleaner and more crisp audio if you watched my must have a 7-3 accessories video I show you exactly what I do to get incredible audio and I’ll link to that video up in the corner and in the description finally make sure that the audio level display is set to on so that you can see your levels while you’re recording moving to the next page we’re on camera settings to page 3 we’re going to the last option which is movie with shutter and we’re going to make sure we turn this to on this is gonna allow us to start and stop recording with the shutter button rather than having to use this little tiny record button nets by the viewfinder this is just a better overall user experience and it’s even more important if you plan on using a cage moving on to page 4 of camera
settings to make sure that the steady shot is turned on so that you’re an able in body image stabilization and that the steady shot settings are set to auto where the a 7-3 detects the focal length of the lens the only time I would not use this is if steady shot was encountering some problems with the lens I was using and I would need to set the focal length to manually skipping page 5 and going to page 6 of camera settings – we’re gonna set the finder / monitor to monitor manual by default the a7 3 is set to automatically activate the viewfinder and deactivate the LCD when you put the camera up to your face and this makes sense when you’re shooting photos and you’re gonna use the viewfinder a lot however for video I very rarely used a viewfinder and what ends up happening is that this switch is triggered when I’m trying to change settings in the camera so I’ll try to do something like press the menu button but because my hand got close to the sensor it’ll turn the LCD off and switch the viewfinder and having this set to monitor manual means that it’s never
gonna switch unless I manually tell it to do that now I wish this feature was mode dependent so that I could still have it set to auto when I’m shooting photos and then monitor manual when I’m shooting video but I haven’t figured out how to do that if anyone watching this knows whether this is possible or not please let me know in the comment section I would super appreciate it next on the same page we’re gonna select gridlines and then select whichever one of these options you like best this will bring up the guide screens on the LCD and in the viewfinder and will help you with leveling and alignment some people like the squares some people like the rule of thirds it’s really a personal preference so pick whichever one works best for you now I want to change the dial setup feature so that the back dial changes aperture and the front dial changes shutter speed unless you’re switching frame rates you’re not really gonna use the shutter speed dial very often when you’re shooting video
because you’re leaving it at twice your current frame rate your aperture on the other hand you’re gonna change all the time so it makes more sense to have that on the back of the camera next I set the Power Save start time to five minutes I feel like anything under that is too short and then thirty minutes is absurdly long next we’re gonna go ahead and enable the touch screen for focused we’re gonna go to setup two and then turn touch operations to on now I’m gonna go and set the recording media settings I’m gonna want auto switch media to be on so that if a card fills up the camera automatically switches to the second card now we’re done with settings and we’re really gonna start customizing the buttons and dials on the body so we’re gonna go to camera settings to page eight and we’re going to the second option which is custom key for video you can see that the first option is for stills the second is for video and the third is for playback so again we’re gonna go to the one for video the first thing we’re gonna do is set the control wheel to not set telling the camera not to assign any function to the wheel the control wheel is this thing right here on the back and it’s totally up to you if you want to use it for something but I found that I unintentionally bumped it and I
would either activate or change the setting all the time which got old real quick moving on we’re gonna set the C one button and we’re going to set it to white balance which is on page seven of the custom key options menu this is such an important feature and one that I change all the time and I want to have it available to me very quickly this way I can just click on the C one button and it will bring up the white balance options on the left and I can quickly make adjustments next I’m going to assign the aps-c super 35 to full-frame which is on page one of the custom key options menu this toggles between full-frame mode and aps-c super 35 which uses a crop version of the sensor and this works for me in two ways first if I’m using a lens that’s designed for an aps-c sensor like my Sigma 1835 F 1.8 I need to change this because it will not project an image that’s big enough to cover the full-frame sensor and I’ll see those edges of the lens come in next if I’m using lenses that are designed for a
full-frame sensor I can effectively change my field of view by cropping in and this is great when I’m working with primes or if I want to get some more range out of my zoom lenses of course I’m giving up some image quality but the results are still outstanding next we’re gonna set to see three buttons to picture profile which you’ll find on page seven and will let you quickly select a different picture profile without having to go into the menu if you plan on doing some work in post you want to maximize the amount of color information you’re getting using the most dynamic range I recommend that you select picture profile seven which is set to s log two on the other hand if you still want to do better than the standard profiles but don’t want to use s log two you can set one of the other profiles to cine 4 HL g2 or HL g3 but that’s for another video next we have the c4 button which I have set to auto focus area which is on page three this lets me change from wide which I use a lot to Zone Center
which I almost never use flexible spot to expand flexible spots which again I also use quite a bit if a scene quickly changes on me and I’m no longer in the best focus area option I can easily change it on the fly next we’re gonna set the multi select center button to audio record levels which are on page nine this will quickly bring up the audio record levels we discussed during the set up and will let me make adjustments even while I’m recording and this is super handy when the person I’m shooting starts speaking louder or more quietly than they did when I did my tests I can just click on that button and very quickly make adjustments moving down on the back of the camera we’re gonna set the center button to focus magnification which is on a page eight this goes from 100% to 400% so you really see what’s in focus and then click on it one more time to get back to the regular view the next button we’re gonna customize is the left button and I like to set this to monitor brightness which is on page 14 this lets me quickly adjust the brightness of the monitor to accommodate for different shooting conditions and also lets me save battery life and I put this on the Left button because it’s the closest to
the LCD which makes it easier for me to remember okay now let’s go to the right button which I set to ISO because it’s the perfect spot for me now by default this button is already set to ISO because it’s following the settings for photo but in case I ever changed it and move the ISO button closer to the shutter for example I don’t want my video setup to be impacted so I make sure that I manually set it I’m almost always shooting video in a manual ISO value and not an auto so it’s great to have this feature so close to my thumb when I need to quickly change it next I set the down button to peaking display which is on page 6 and this lets me turn on focus peaking when I’m using a manual focus depending on what we selected during setup will see white yellow or red outlines on the items that are in focus the next button I’m gonna set up is the AEL or auto exposure lock which lets you lock the current exposure settings when you’re taking a picture so that when you reframe the camera doesn’t make any adjustments we’re gonna set it to center lock-on auto focus which is on page 4 this feature activates subject tracking and pressing the AEL button and then the center button will bring up a square at the center of the screen we can point it at a subject and then press the center button again and a camera will draw a white square around the item and begin tracking it as it moves through the frame because we
activated the touchscreen once we selected an item using the button we can click on any other item on the screen and that will move and make that the subject that’s being tracked all right for the next button I’m gonna give you two options if you plan on shooting an S log 2 or s log 3 it can be difficult for you to visualize what the image would look like because it’s so washed out on the screen you can set the AF on to gamma display which is on page 17 and will automatically apply a rec.709 LUT to give you a more pleasing image to preview while you’re shooting if you don’t want to use it for that you might want to set it to zebras which will turn on the white lines and show you what areas of your video are overexposed this way you can quickly turn this on or off and you can get the highlight warning indicators which show you if anything is blown out I don’t have any lenses with a focus hold button so I’m not going to set that to anything but if you do I’d love to have you tell me what you use it for in the comment section now let’s move on to the functions menu most of the settings in this menu are pointless for video
so the first thing I did is wipe out the upper row functions which cleaned up the menu really well next I started adding functions starting with focus mode this allows me to quickly switch between auto focus continuous and manual focus some of my lenses don’t have a toggle that puts them in manual focus so this is a shortcut for me to activate that mode the next thing I add is prioritized recording media which lets me tell the camera which card to shoot to a lot of times I’m shooting b-roll for two products at the same time and it’s nice to have all that footage split up on two separate cards now remember the s and Q feature we talked about I also add the ability to quickly change the frame rate when I need it as I mentioned I only use this feature when I’m in a hurry so every second counts and it’s much nicer not to have to go into the menu finally I added the subject detection function which is mostly because I use animal eye detection all the time when photographing our dogs and sometimes I leave it on and then I wonder why face tracking is not
working for video and this lets me quickly adjust that when I realized that I forgot that it’s on okay so that is how I set up my a 7-3 for video and it’s something that I’ve been working on for months and I finally have it exactly how I want it I’d love to know how you set yours up and I’m always happy to learn and get new ideas from you guys if you haven’t yet make sure that you check out my must-have a 7-3 accessories video and my detailed review I’m working on some more a 7-3 content for you guys I’m going into detail about low-light shooting color grading interval shooting autofocus modes and a lot more so if you’re interested in learning more hit those subscribe the notification buttons I’ll put some links in the description to the body as well as some of the lenses and accessories that I like because there are always specials and discounts in my links are automatically updated with the lowest price I really hope I was able to give you some ideas about how you can set up your Sony a7 3/4 video if I did please let me know by leaving a comment giving this video a thumbs up tweet it share it and if you haven’t yet join the community by hitting the subscribe and notification buttons you can also find me on Instagram Twitter and Facebook at techie ER talk and you know what I always say buy it nice or buy twice good luck and see you soon
Read More: Is AUDIO MORE IMPORTANT than Video?


